THE TAKEAWAY
Keep the provider’s bill and the insurer’s explanation together. Clarify errors or unanswered questions, then gather the records required by your applicable benefit.
1. Gather the ambulance invoice and insurance records
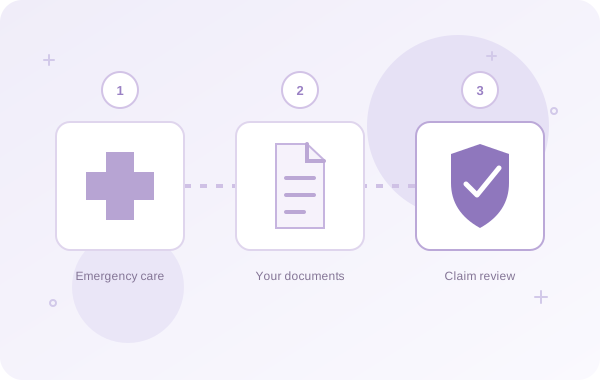
Create one place for the ambulance invoice, insurance correspondence, payment receipts, and any account messages. Confirm the patient’s name, transport date, provider, and reference numbers. These details help you describe the same event when you speak with the provider, insurer, or membership team.
If the statement does not explain the charges, request an itemized bill. Keeping clear records and reviewing the listed services are practical steps in checking a medical bill.1
2. Read the insurance EOB beside the ambulance bill
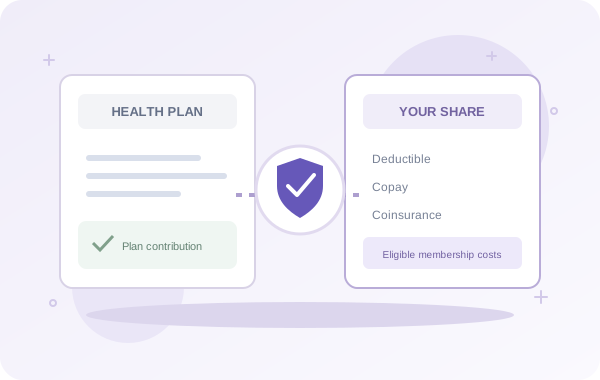
The explanation of benefits, or EOB, describes how your insurer processed a claim. It is not the provider’s invoice. Look for the billed amount, allowed amount, insurer payment, patient responsibility, and any explanation codes.2
Place the two documents side by side. Does the invoice reflect the insurer’s payment? Is the same service date listed? Has a payment you already made been credited? If a difference is unclear, ask for an explanation rather than trying to infer the entire claim history from one number.
3. Question claim denials, underpayments, and billing errors
If the insurer denied the claim or paid less than expected, ask which coverage rule or explanation code applies. If you see a duplicate charge, an incorrect detail, or a missing payment, ask the relevant billing team to review it.
Keep notes of the contact, the question, the answer, and any next step promised. Ask about applicable appeal deadlines and account due dates while a review is pending. A request for clarification does not automatically extend those deadlines.
For out-of-network charges, check which billing protections apply. Ground and air ambulance services have different federal rules, and state protections may also matter.3 Our insurance-gap guide explains the distinction.
4. Submit your eligible ambulance claim in the member portal
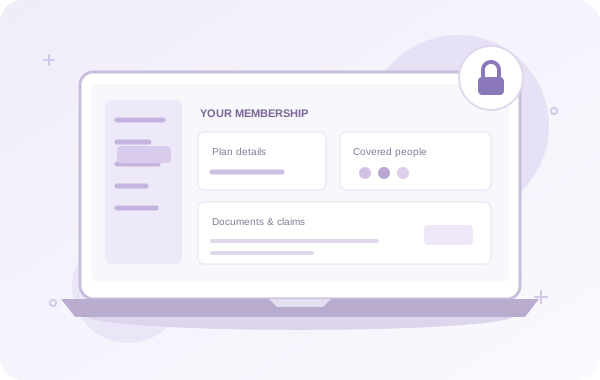
Sign in to your member portal. Review your selected emergency transport benefit and gather the ambulance invoice, insurer’s EOB or decision, and any supporting records required by the Membership Agreement.
Submit the transport details and relevant documents through the claims section. Keep a copy for your own records and follow the claim’s status. If you have already paid the provider, retain proof of payment and explain that when submitting the claim.
EMS360 reviews eligibility under your selected product and agreement. A submitted claim is not automatically approved, and a status update does not itself issue a payment. Send only the information needed for the review.
5. Prepare for future emergency ambulance costs
A bill can reveal a gap you did not know was there. Write down the questions you now want answered before another emergency: what your insurer covers, what may remain, whether you want Ground, Air, or both, and who should be included.
If you are considering EMS360, compare the current memberships and read the agreement before enrollment. A new membership applies to eligible events after it becomes effective; it does not retroactively cover an earlier transport.
Knowing what to do with the paperwork is useful. Having a plan in place before an eligible emergency is the next decision to consider.
Sources & further reading
- CFPB: Seven ways to keep medical debt in check
- CMS: How to read an explanation of benefits
- CMS: Medical bill rights when using insurance
This article is educational. Your health plan and applicable EMS360 Membership Agreement determine coverage, eligibility, exclusions, and claim requirements. In a medical emergency, call 911.